New Projects
Final
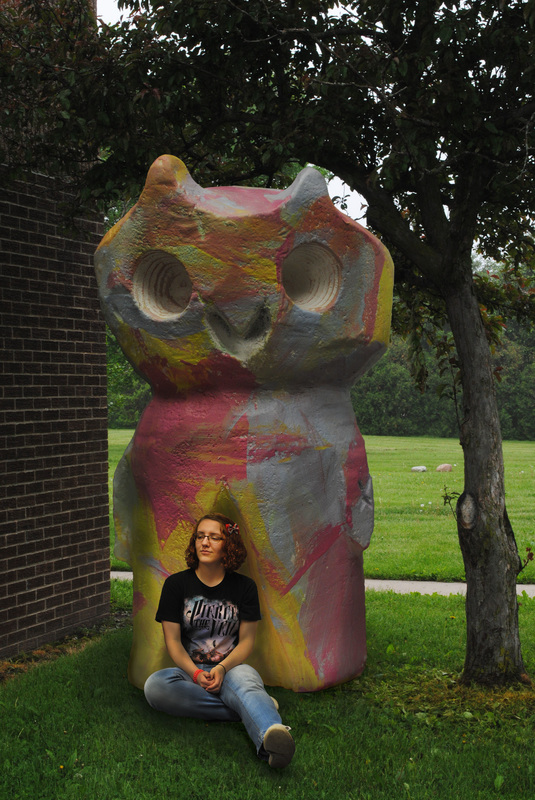
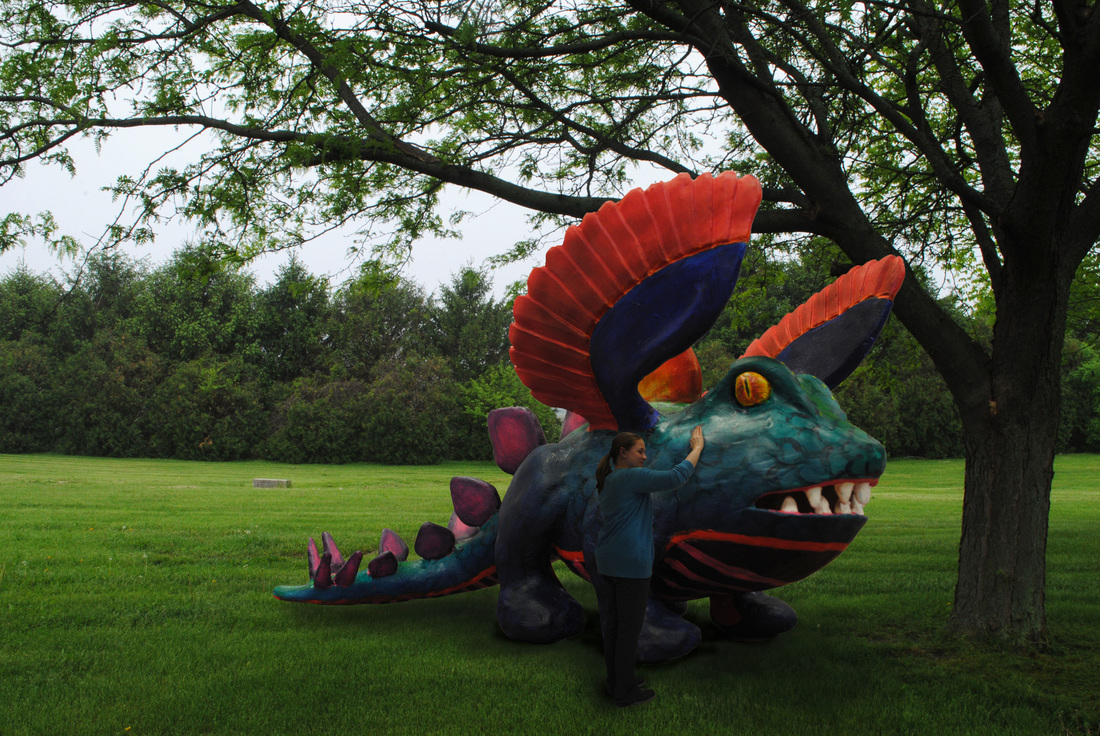
Surrealism
|
|
Frame/Prop
For this project we had to take ten photos using either a picture frame or a mirror and we had to edit it to make it look surreal. We also had to take five photos using the same prop. I chose to use my horse.
Portraits
These are portrait photos of the art club members. The goal was to make them look like they belong to a magazine. We also had to make a magazine cover. I thought it was appropriate to have Mrs. Fiedler as the cover photo because she is the art teacher and art club advisor.
Lighting
For this photography project we were given a scavenger hunt. She handed put a piece of paper that had 10 description of how we had to use lighting and what she wanted then we went out and took photos according to her specifications. The goal of the first photo is to take picture that creates a dramatic effect by having a large portion of the image in shadow. So I took a photo of one of my friends in front of a backdrop that was painted for prom last year. For the second photo we had to use the spotlight to draw attention to your subject. I used the bowling pin and again used to same backdrop. I angled the light to the side to give subject a little more dept. In the third photo I used a soft box because we had to take a photo using soft light to hide some imperfections or textures. I chose to use the little angle figurine because he had texture to hide. I also used him for the next photo because I had to use lighting to enhance the textures. So I wanted to use the same subject to you can see a little bit of a difference. For the fifth photo I had to create distance using light. At first I struggled coming up with an idea for this one but then I was walking up my stairs on day and come up with the idea of taking a photo of the stairs. Unfortunately its a little blurry. Number 6 was it take a photo of a silhouetted subject. The seventh photo we had to create contrast and I probably should retake that photo because I don't think I did a really good job of capturing contrast. The goal of the eighth photo is to create dept using lighting and again I should retake this photo. The ninth photo is the one I'm most proud of. We had to take a photo where the subject is the shadow. For this one the teacher said we could edit the shadow for extra credit so I went for it. I thought Jeremy (my deer skull) was the perfect model for this photo. And the final photo we had to light out subject with natural light so I just went outside.
Cheat Sheets
These are my cheat sheets for settings on the camera. I have three cheat sheets one is where I focused on and object in the foreground the next is where I focused on the same object in the middle ground and the last one is the same object in the back ground.
The settings I used for each photo are underneath of them. The goal of this was so I could use these photos as a sort of cheat sheet so I could reference them if I was not sure what settings to use
Forground
The change from each photo is very subtle But if you look at the first and last photo you can tell that the background is a little more fuzzy in the last one.
Middle GroundFrom the first photo to the last photo you can see a difference in fuzziness of the foreground and it also causes you to focus more on the object. You can't really tell if the background is getting fuzzy because the classroom was not big enough.
Background Similar to middle ground you can see that the foreground becomes more blurry with each photo making the object stand out more.

|
In the first photo the shutter speed was very slow so I had to set the camera on the table so the photo didn't come out blurry. I also changed the ISO to 800 because we were inside so I need the camera to be a little more sensitive to light because it was a little dim in the classroom.
|
Stationary vs. Moving Subject

|
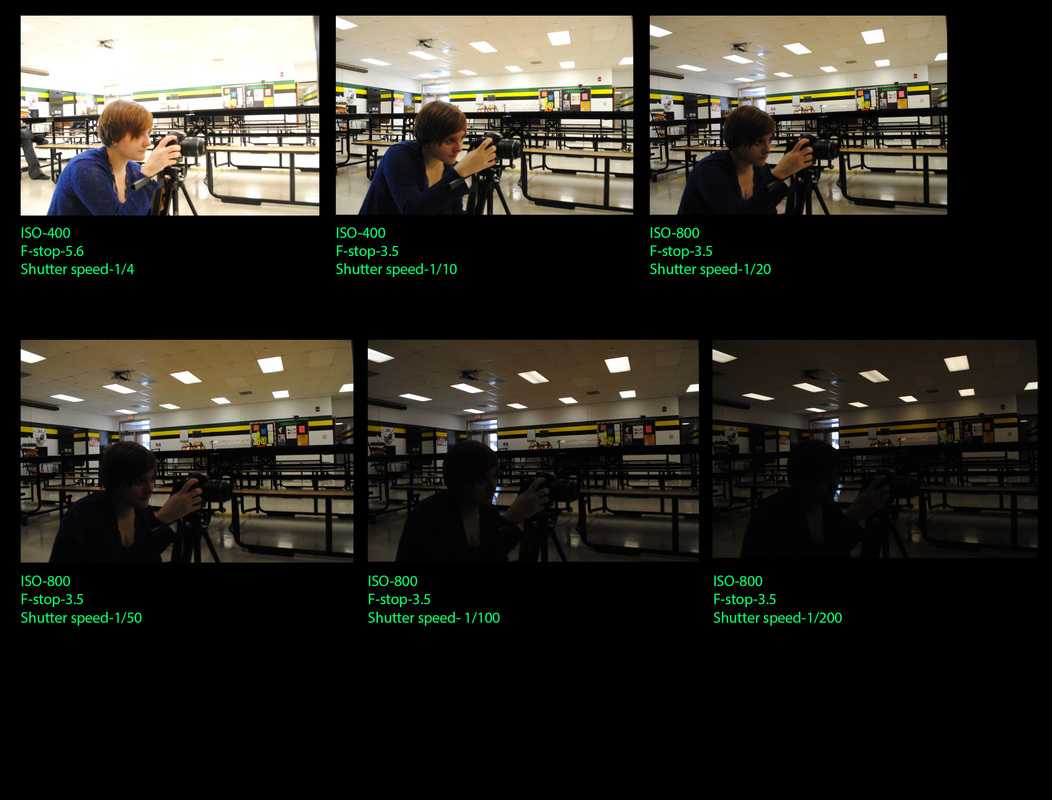
This is also another cheat sheet for what settings work best for a moving subject or a still subject.
For the moving subject cheat sheet you can see the difference in how clear the photo is getting as the shutter speed changed. |
|
For the the stationary subject cheat sheet you notice that the photos get darker and darker as the shutter speed got slower and slower.
|
